What’s in This Guide
- Wheel Throwing or Hand Building: The Quick Answer
- Why the Technique You Choose Actually Matters
- Wheel Throwing vs. Hand Building: Key Differences
- How Easy Is It to Fix Mistakes in Wheel Throwing vs. Hand Building?
- How to Decide Which Pottery Class Fits You Best
- Materials, Session Format, and Safety Considerations
- When to Talk to an Instructor Before Registering
- Frequently Asked Questions
- Ready to Try Wheel Throwing or Hand Building in Brookfield, CT?
If you’re searching online for “pottery wheel classes near me,” you’ll likely face a common question: should you sign up for wheel throwing or hand building? The two techniques teach different skills, reward different strengths, and produce noticeably different results.
Quick Facts
- Wheel throwing depends on centering. Clay must sit dead center on a spinning wheel head before shaping begins, a skill that typically takes repeated practice to master.
- Hand building requires less specialized equipment than wheel throwing. Pinch, coil, and slab methods generally use clay, a work surface, and basic hand tools rather than a pottery wheel, making them accessible for many first-time students.
- Clay dust exposure is a real safety consideration. OSHA identifies pottery and ceramic manufacturing among the industries where workers may encounter respirable crystalline silica, which is why studio ventilation and cleanup habits matter regardless of technique.
- Technique combinations are common. Many potters use both wheel throwing and hand building on the same piece, such as adding hand-built handles or decorative textures to a wheel-thrown vessel.
- Hand building allows for flexible corrections. Since there is no spinning wheel, students often have more time to reshape walls or adjust seams before the clay begins to dry.
Wheel Throwing or Hand Building: The Quick Answer
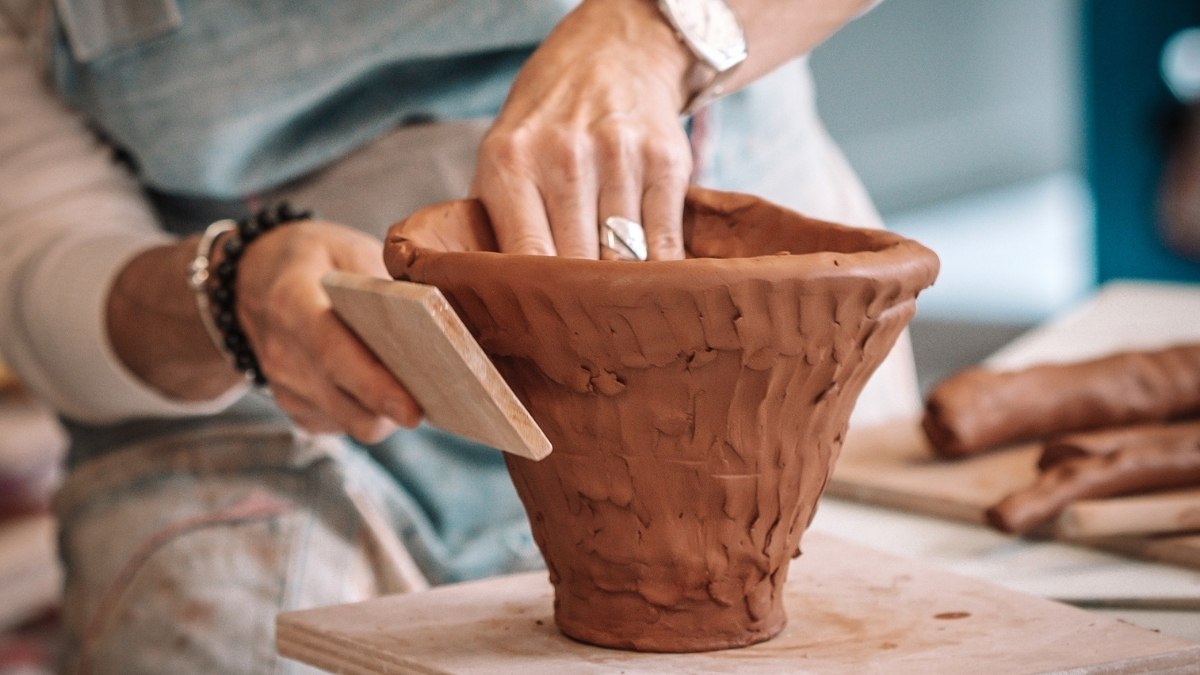
When searching for wheel throwing classes near Brookfield, CT, choose wheel throwing if you want to make round, symmetrical forms like bowls, mugs, and vases and you’re comfortable with a technical learning curve. Choose hand building if you want more creative freedom over shape and texture from your very first class, with less equipment to coordinate. Neither choice is permanent. Many potters use both methods, depending on the piece they’re making.
Why the Technique You Choose Actually Matters
Your starting technique shapes what you can realistically make in your first few sessions. It also affects how quickly you’ll feel comfortable in a studio setting.
Wheel throwing rewards patience with a machine. The wheel does the rotating, but your hands supply the pressure, angle, and timing. Small mistakes, like uneven pressure or a clay mass that isn’t centered, show up immediately as wobble.
Hand building rewards patience with a process. Nothing spins, so there’s no centering step to fight through. Instead, success depends on wall thickness, drying speed, and how securely sections are joined.
Choosing based on both the projects you want to make and the learning process you prefer can help you select a class that better fits your goals.
Wheel Throwing vs. Hand Building: Key Differences
|
Factor |
Wheel Throwing |
Hand Building |
|
Equipment needed |
Pottery wheel, water, basic throwing tools |
Work surface and basic hand-building tools |
|
Core skill |
Centering and shaping clay under rotation |
Building and joining forms by hand |
|
Typical forms |
Bowls, mugs, plates, vases |
Sculptural, textured, or irregular forms |
|
Learning curve |
Often steeper at first; centering takes repetition |
Often more accessible at first; many adjustments can be made as you work |
|
Symmetry |
Well suited to rounded, symmetrical forms |
Symmetry is possible but depends on measuring and hand control |
|
Best for |
Students interested in rounded, functional forms |
Students interested in design flexibility, texture, and constructed forms |
What Wheel Throwing Involves
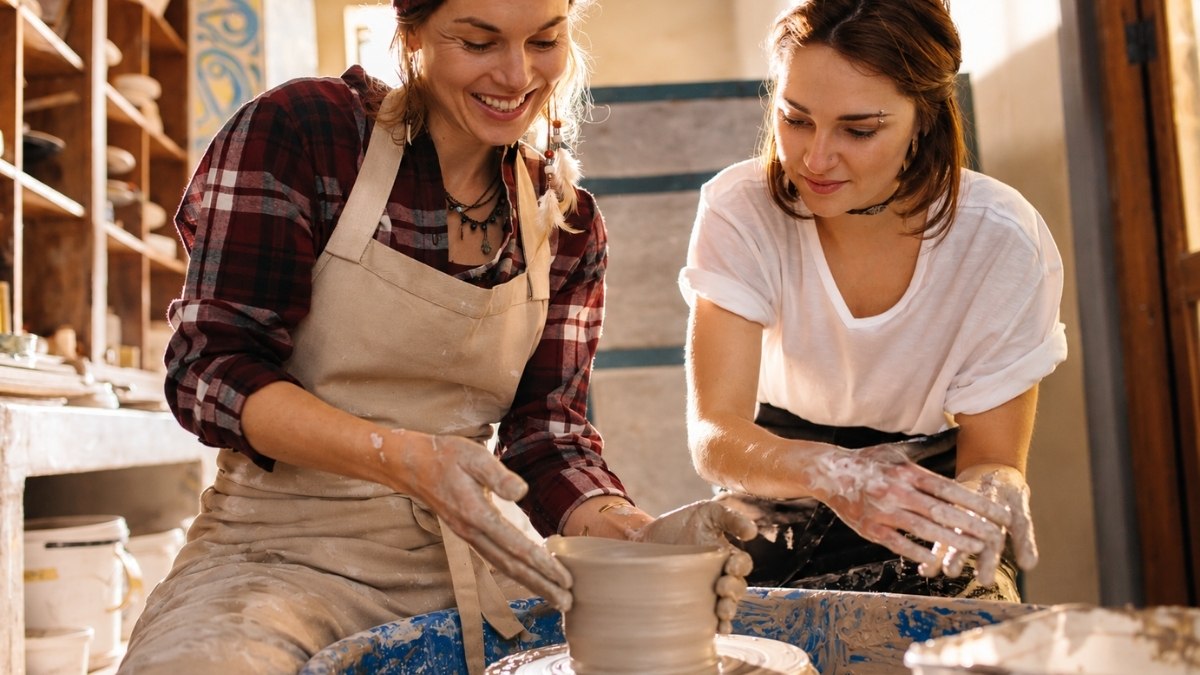
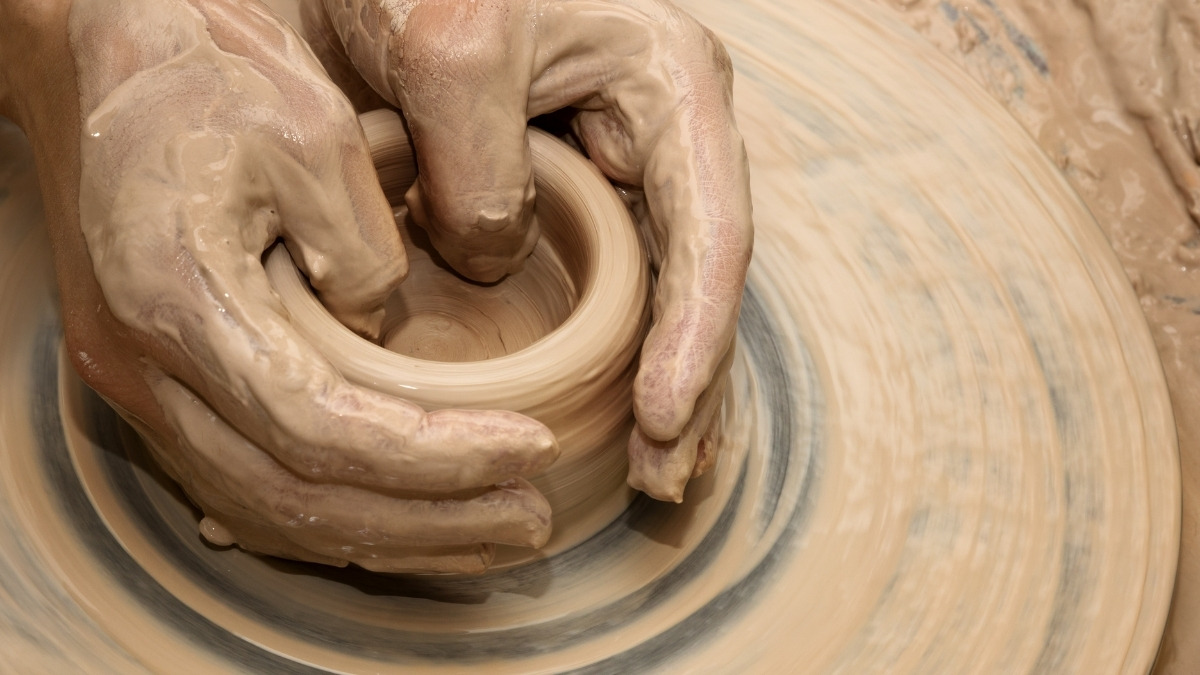
Wheel throwing starts with centering: positioning a mass of clay so it sits perfectly balanced on the rotating wheel head. Off-center clay wobbles as it spins, which makes even shaping difficult or impossible.
Once centered, the potter opens the clay by pressing down to form a cavity, then pulls the walls upward to build height. Trimming and finishing come after the piece firms up.
Centering is often one of the more challenging skills for new wheel-throwing students to develop. It relies on steady hand pressure, consistent wheel speed, and a feel for how wet clay responds to force, all of which improve through instruction and repeated practice.
What Hand Building Involves
If you are exploring hand building pottery classes nearby, you will find that hand building covers three core methods, each suited to different forms.
Pinch
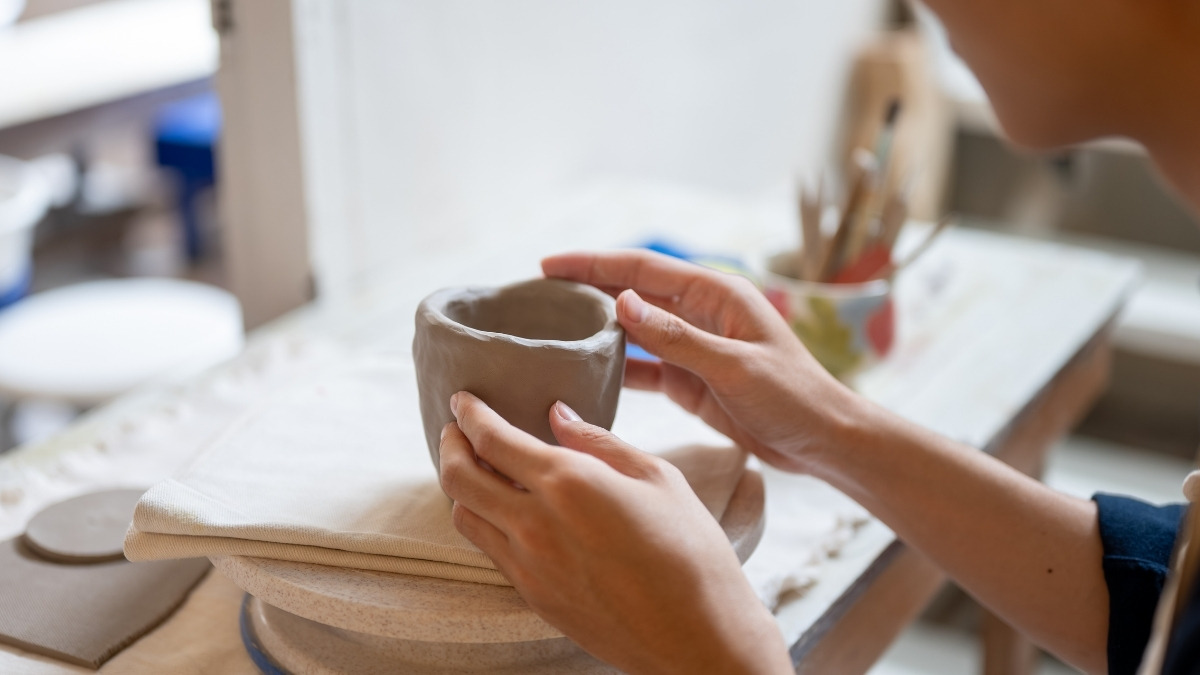
A ball of clay is hollowed out using thumb pressure while the piece is rotated by hand. This is often the first technique beginners try because it requires no tools and builds a direct feel for how clay behaves.
Coil
Long ropes of clay are stacked and joined to build height and volume, commonly used for larger vessels like planters or jars. Coiled walls need consistent thickness, secure joins, and enough support to remain stable as they rise.
Slab
Flat sheets of rolled clay are cut and assembled into geometric or architectural forms, including mugs, boxes, and tiles. Slab work depends on even sheet thickness and secure seams between joined pieces.
How Easy Is It to Fix Mistakes in Wheel Throwing vs. Hand Building?
For beginners, the ability to correct mistakes can make a major difference in how comfortable a class feels. Wheel throwing and hand building respond very differently when something goes wrong.
Correcting Mistakes on the Wheel
Wheel throwing is less forgiving once the clay begins spinning out of balance. If the clay is not centered properly or too much pressure is applied during a pull, the walls can become uneven, collapse, or twist. Some problems can be corrected, but beginners may need to stop, reshape the clay, or start again.
Correcting Mistakes in Hand Building
Hand building generally gives beginners more time to adjust their work. Walls can often be reshaped, seams reinforced, and surface details changed before the clay becomes too dry. This flexibility can make hand building feel less frustrating for students who prefer to work slowly and make adjustments as they go.
Which Is More Beginner-Friendly?
Students who enjoy repetition and technical challenges may find wheel throwing rewarding despite its smaller margin for error. Those who prefer more control over corrections may feel more comfortable starting with hand building.
How to Decide Which Pottery Class Fits You Best
Step 1: Identify the Forms You Actually Want to Make
If you are considering pottery throwing classes near you, identify the forms you actually want to make. If you’re drawn to functional, rounded pieces like bowls, mugs, or vases, wheel throwing is the more direct path. If you’re picturing sculptural, textured, or irregular shapes, hand building gives you more control from the start.
Step 2: Be Honest About Your Patience for a Learning Curve
Centering often takes repeated practice, and early wheel-thrown pieces may be uneven before students develop greater control. Hand building can offer more opportunities to adjust the form as you work because many mistakes can be reworked before the clay becomes too dry.
Step 3: Consider Your Physical Comfort
Wheel throwing involves sustained hand pressure, coordination between both hands, and often a seated working position. Hand building may allow more variation in working position and pace, but comfort depends on the individual, the project, and the studio setup.
Step 4: Check the Class Description Before You Register
Course listings should specify which technique is taught, the recommended experience level, and whether the format is beginner-friendly. This detail matters more than the project photo, since two classes with similar titles can teach very different skills.
READ MORE: What Can You Make and Keep in a Beginner Blacksmithing Class? | Brookfield Craft Center
Materials, Session Format, and Safety Considerations
Materials
Wheel throwing requires access to a pottery wheel, while hand building generally uses a work surface and basic tools such as ribs, wire cutters, and rolling pins. The clay body, such as earthenware, stoneware, or porcelain, affects firing temperature, glaze compatibility, and finished characteristics, and instructors typically confirm which clay body a specific class uses.
Session Pacing
Wheel-throwing sessions often alternate between demonstrations and hands-on practice. Hand-building sessions may allow more flexible pacing because students can move through construction and detailing steps at different speeds.
Dust and Studio Safety
Dry clay, glaze materials, and studio cleanup can generate fine dust particles. OSHA notes that pottery and ceramic manufacturing can involve occupational exposure to respirable crystalline silica, which is regulated under its general industry standard, 29 CFR 1910.1053.
Students working with clay regularly should follow appropriate cleanup and ventilation practices. In a class setting, students should follow the studio’s guidance. Anyone with a respiratory condition or sensitivity should ask the studio about its dust-control practices and consult a qualified healthcare professional about personal health concerns.
When to Talk to an Instructor Before Registering
Some situations are worth a direct conversation before you commit to a class.
- You have a respiratory condition or sensitivity and need details about the studio’s dust-control, cleanup, or ventilation practices.
- You have a physical limitation that might make wheel work uncomfortable.
- You’re unsure whether a listed class assumes prior experience you don’t yet have.
- You want to combine both techniques and aren’t sure which class sequence makes sense.
A studio instructor or registrar can clarify prerequisites, technique focus, and what a specific session actually involves before you register, which is more reliable than guessing from a class title alone.
Frequently Asked Questions
Can I combine wheel throwing and hand building in one piece?
Yes. Potters often combine the two techniques by adding hand-built handles, feet, textured sections, or decorative elements to wheel-thrown forms. Learning both methods can give you more control over shape and detail as your skills develop.
Can I take my pottery home the same day as the class?
Usually not. Finished clay pieces typically need time to dry before they can be fired, and glazed work may require a second firing before it is complete. The exact pickup timeline depends on the studio, class format, and firing schedule.
Do I need to bring my own pottery tools to a beginner class?
It depends on the class. Many beginner pottery programs provide basic tools or list exactly what students should bring, while others may ask you to purchase a small starter kit. Check the course description before buying supplies so you do not purchase anything unnecessary.
What should I wear to a pottery class?
Wear comfortable clothes that can get dirty and allow you to move easily while sitting, standing, or working at a table. Closed-toe shoes and an apron may also be recommended, depending on the studio and the type of class.
Is one pottery class enough to know which technique I prefer?
A single class can give you a useful first impression, but it may not be enough to judge a technique fairly. Wheel throwing especially takes repetition to feel comfortable, while several sessions of hand building can reveal how much you enjoy working with shape, texture, and construction at a slower pace.
Ready to Try Wheel Throwing or Hand Building in Brookfield, CT?
Brookfield Craft Center’s Clay Studio teaches both wheel throwing and hand building inside a nonprofit craft school built around small-group, hands-on instruction on a historic Connecticut campus along the Still River.
Explore current pottery class listings to find a wheel-throwing or hand-building session that fits your schedule and experience level.